Happy Weekend to you all, my dears!
Today I want to share with you the how-to for creating a pair of DIY Steampunk goggles. This project is perfect for any one interested in Steampunk but not really sure how to get started…like me 🙂 (For any one who doesn’t know what Steampunk is, I encourage you to check out this little FAQ; additionally you can also check out Wikipedia.)
I tried my best to get some in-progress pictures, but I was too afraid I might get paint – or worse, superglue – on my camera! (You know how easily-confused I can get!) The total project was a bit spendy, only because I splurged and purchased model paints as well as expedited shipping on the original goggles; I encourage you to use what you have on hand as that will really make them your own, and also contribute more to the Steampunk feel. I searched for some other tutorials on making these, and found many were too involved for what I wanted; I didn’t particularly feel like gluing/sewing leather to them. All that said, let’s get our hands dirty, shall we?!
Materials List (I know this list is a little intimidating, but I promise it isn’t that bad!)
- sand paper of various grit – used to roughen up the surface before painting to ensure the paint has something to ‘grab’ on the surface of the goggles; they’re a shiny rubber-like material.
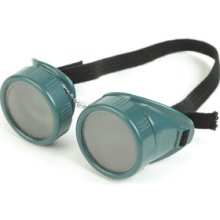
- welding goggles (I my husband ordered mine from McMaster-Carr for me after looking at the local Tractor Supply store (they were sold out, amazingly enough); they cost about $8 but as I said, shipping was high because I REALLY wanted them!)
- Flat Black Model paint, 3 oz spray can (the brand I used is Testors, purchased at Michael’s, but any local hobby shop should have something similar. I chose flat paint as I wanted some texture to show through and I wanted it to look worn and used. I chose model paint because it adheres to plastics better than typical craft or acrylic paints.)
- Enamel model paints in metallic colors (again, I used Testors brand enamel in Steel and Copper – the 1/4 oz bottles; I wanted to be sure the paint was durable and would adhere to any surface I intended on using (at this point I didn’t really have any idea what I was doing!)
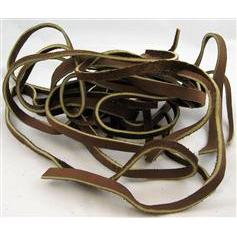
- Leather lacing or some other type of lacing/ribbon to fasten the goggles to your head; you could skip this step and just keep the elastic band that the goggles come with, however I liked the look of the leather laces. I envisaged a thin leather belt being used, cut to size, but I couldn’t find anything that matched that image in my head.
- mineral spirits or other substance for cleaning brushes
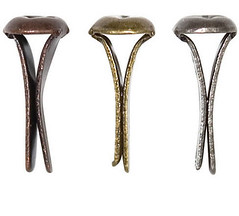
- Scrapbooking brads in an antique metal finish
- Wire cutters (to remove the fastening tabs from the above-mentioned brads)
- ‘Treasure Gold’ wax metallic finish (found with the gold leafing supplies)
- Super glue
- paint brushes in various sizes
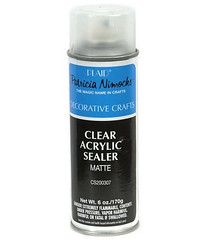
- Acrylic spray sealant & well-ventilated area
- newspapers or other protective covering for work surfaces
- rubber/latex gloves, if desired
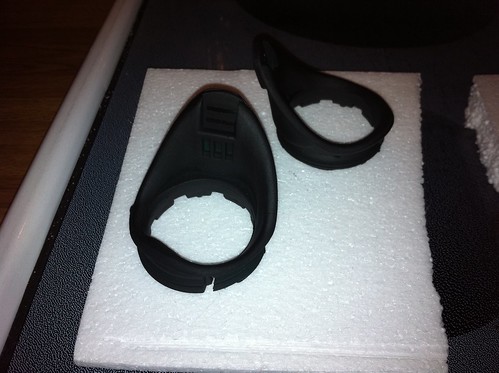
First cover your work area with newspaper, plastic, or other protective covering. The enamel doesn’t come off easily without using the solvent/cleaner, and that isn’t safe for most surfaces. I just used newspaper and brown paper bags as that’s what was handy. Also be sure to protect the area in which you plan to spray – the model paint will actually bond to some plastics and styrofoam, so I’d recommend paper or maybe a trash bag. I used the first thing I could find, which was a plastic grocery bag, then set them on styrofoam blocks to dry and the paint actually had fine fibers that attached to the styrofoam.
OK, work surfaces have been protected. Disassemble the goggles; unscrew the lens caps, remove all sets of lenses (most goggles come with the protective shades as well as the clear lenses), remove the elastic strap and the connector between the eye pieces.
Using the sand paper, scuff all surfaces of the goggles except the threads where the lens caps screw on; you don’t have to mutilate it, but just give it some texture to ensure the paint has a little something extra to grab onto. If you’re using the enamel paints it might not be as necessary, but better safe than sorry! Once all surfaces have been sanded/roughed, wipe with a clean, damp cloth (a damp paper towel is perfectly fine).
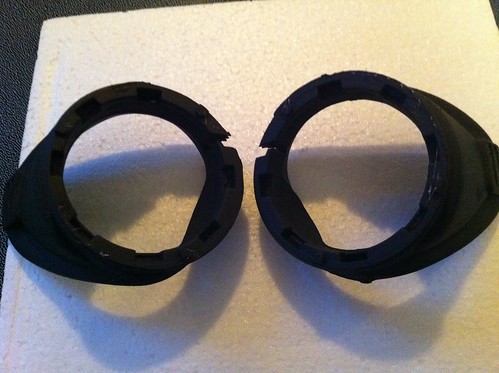
Relocate the goggles to your well-ventilated, well-protected area. Grab the gloves (saves from getting your hands in the paint), and shake that can of spray paint! Following the directions on the container, spray your goggles with even strokes, taking care not to cause dripping or ponding. The flat paint does dry pretty quickly, but be sure you follow the manufacturers instructions. You are welcome to spray paint the lens caps as well, however I would avoid spraying the inner threads.
(See the super-fine fibers created from the paint bonding to the plastic/styrofoam?)
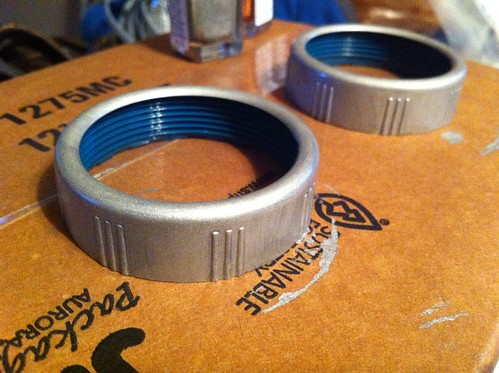
Once dry, you can begin decorating the goggles as desired. I wanted the lens caps to be a metallic color, so I painted those with the Steel enamel paint. Be sure to follow the manufacturers instructions (stir well, etc). This is my favorite part of the process…it is always amazing to me what a few coats of paint, some doodads, and a little super glue will accomplish!
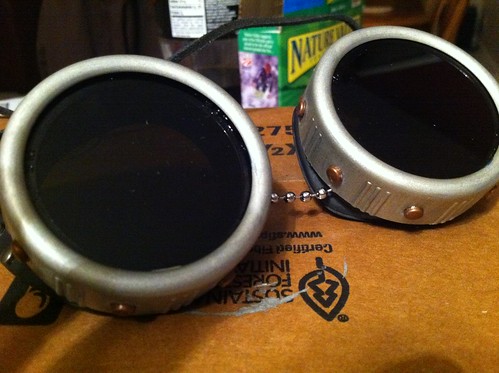
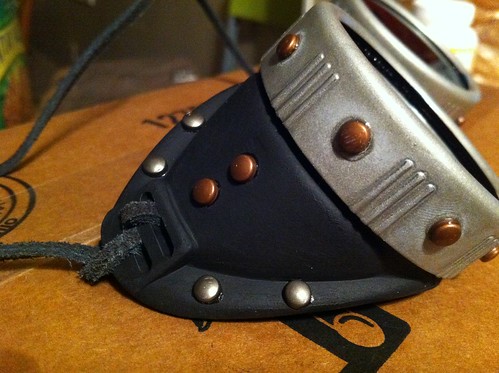
I wasn’t entirely sure by this point what I wanted them to look like, so I just added a few details until things started to look good to me. I decided I wanted to give it the look of rivets, so I cut the fastener ends off the scrapbooking brads until I was just left with the head. I selected the brads that were antique copper looking. I started to super glue them to the lens caps…
Once I had those glued and setting, I went to work on the eye pieces. Again, I wasn’t sure where to go with it, but it all came together nicely. I glued some of the antique pewter heads in strategic locations…then decided it still needed a little something.
I remembered the gold finish I used on the paper mache book I made to go with these, so I grabbed some of that and started adding to the eye pieces to make it look a little metallic and aged. I also added it to the ridges along the lens caps. Give everything a really good spray with the clear sealant when you’re satisfied with the way things look. When it is completely dry (overnight is best!) attach the leather laces (or whatever fastening device you choose) and wear those goggles with pride!
And here is the finished product, along with the paper mache book I made to house them. My very first Steampunk mod – and let me tell you, it is quite addicting! I’ve already got a little toy crossbow lined up as my next mod 🙂
If you decide to make a pair, please let me know – I’d love to see how they turn out!



I say – splendid work!